
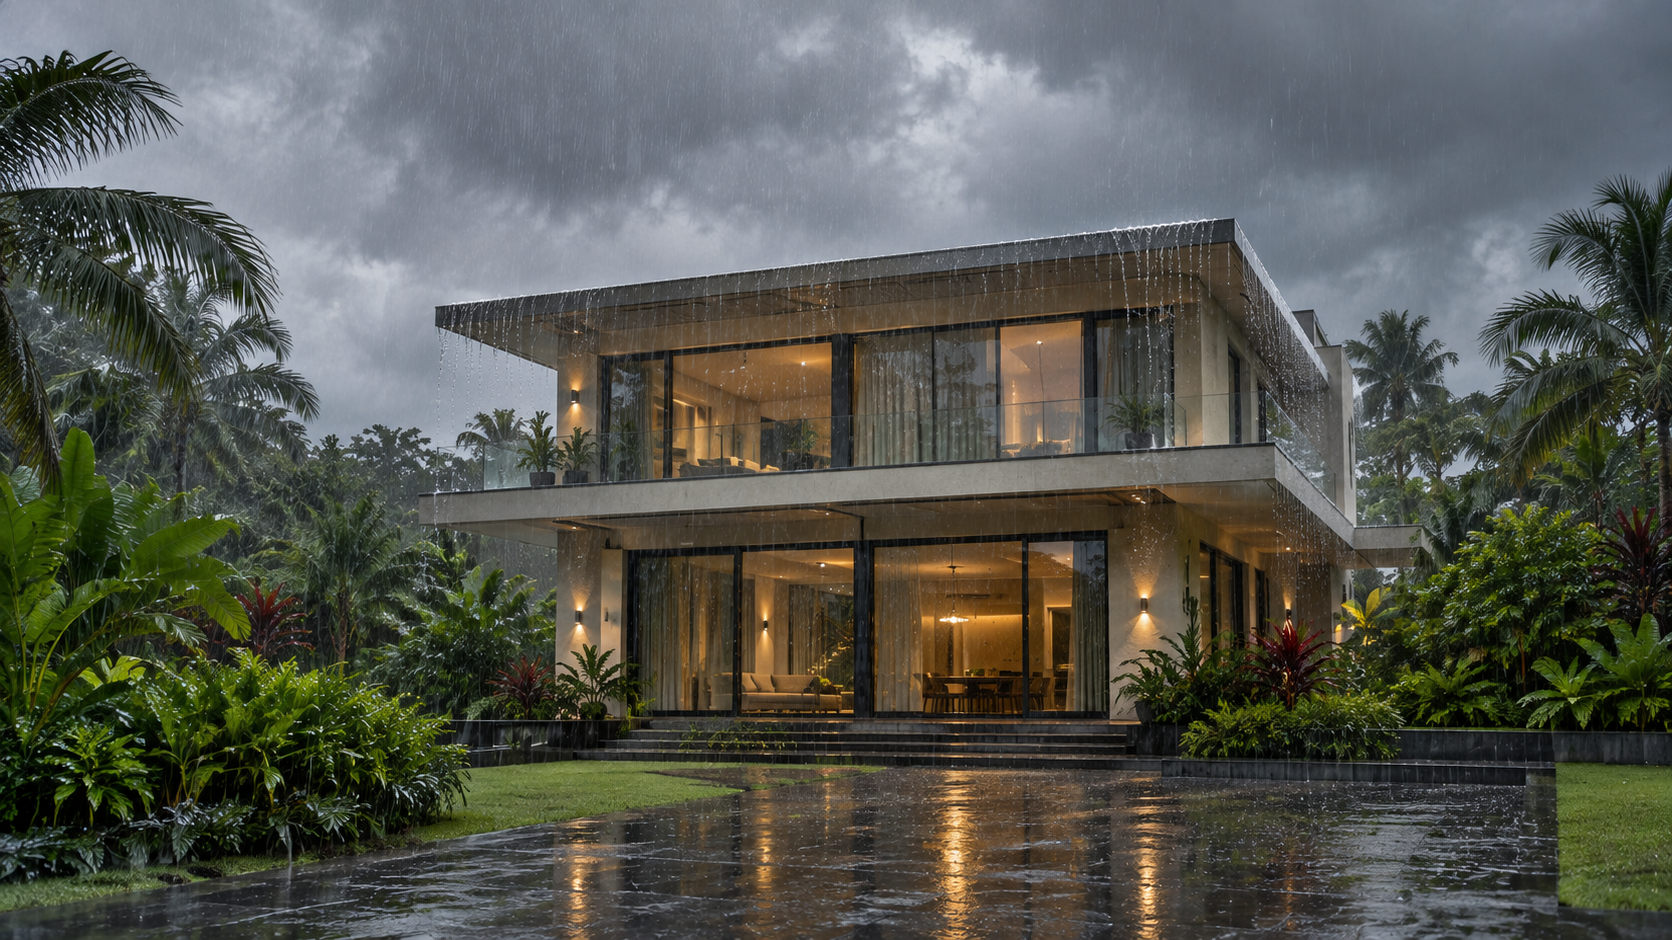
Phuket receives around 2,271 mm of rain a year, concentrated between May and October, and September is the wettest month at roughly 350 mm. For a villa, this is not a stretch of bad luck. It is a full-scale load test, and it exposes recurring detailing failures in Phuket villas.
Written by Kaled Kamala, Founder, KZ Architecture & Design · Architect DPLG · Updated September 2026
A design defect is almost never visible on handover day. It shows up six, twelve, or eighteen months later, once a rainy season has had time to find the weak point. By then, the cause is buried under tiles, behind render or beneath backfill.
Scope note: this guide covers water-related detailing failures in villa construction: roofing, openings, site drainage, vapor control, finishes, and mechanical services. It reflects our own site experience in Phuket and is not a substitute for a structural or waterproofing engineer’s report on a specific building.
A case from the site
A recent case on one of our sites shows the mechanism clearly: a basement under construction, with a water table at around 3 m.
Case: A basement, a water table, and a false alarm
Project: Villa with basement, water table at approximately 3 m
Mid-July, dry weather: weak signals only, a crack in a perimeter wall, slight seepage on the embankment.
Thirteen days later, after rain: the sewer pipe had broken at a joint, the cracked wall had started to tilt, and a second infiltration point appeared on the opposite side of the excavation. It was never a localized leak. It was the water table.
Later, a second event: water appeared near the pool plant room. The first assumption was a leaking balance tank. The discharge pipe of the dewatering pump was in fact releasing pumped water at a point from which it flowed straight back to the site. The pipe was moved, the tank level monitored for a week, and no leak was found.
Lesson: diagnose before you repair, or you will repair what is not broken.
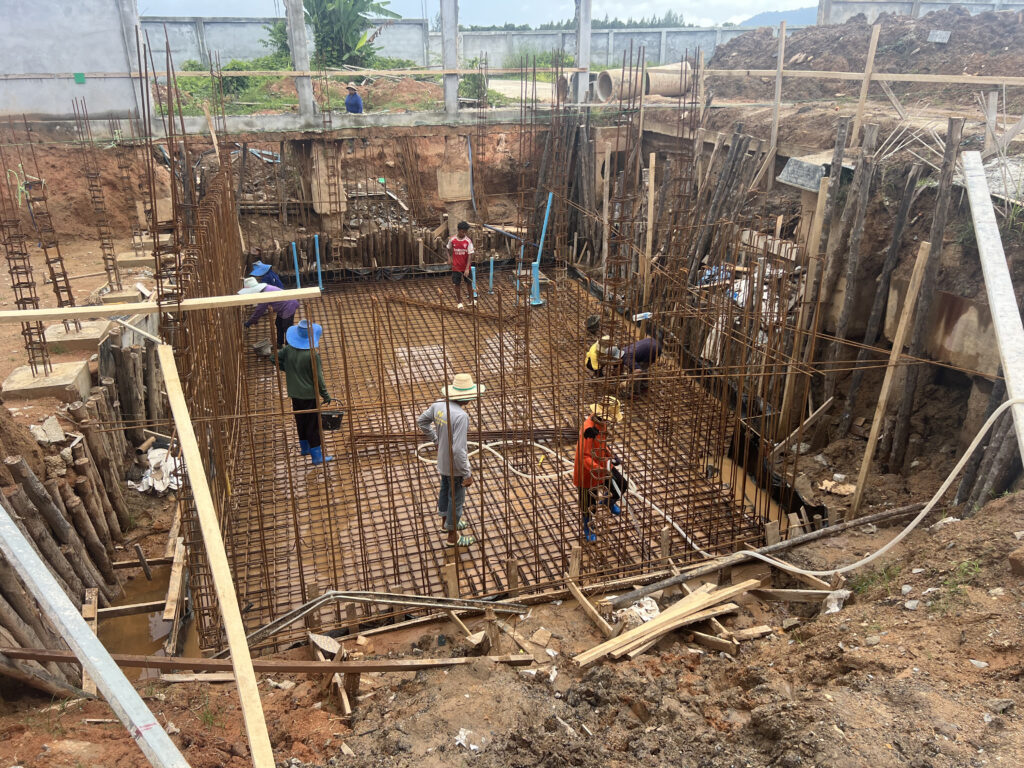
The rain created nothing. In under two weeks, it revealed what was already there. Here are seven failure patterns we repeatedly encounter when reviewing villas in Phuket, and how we address them at the design stage.
1. Flat roofs without proper falls
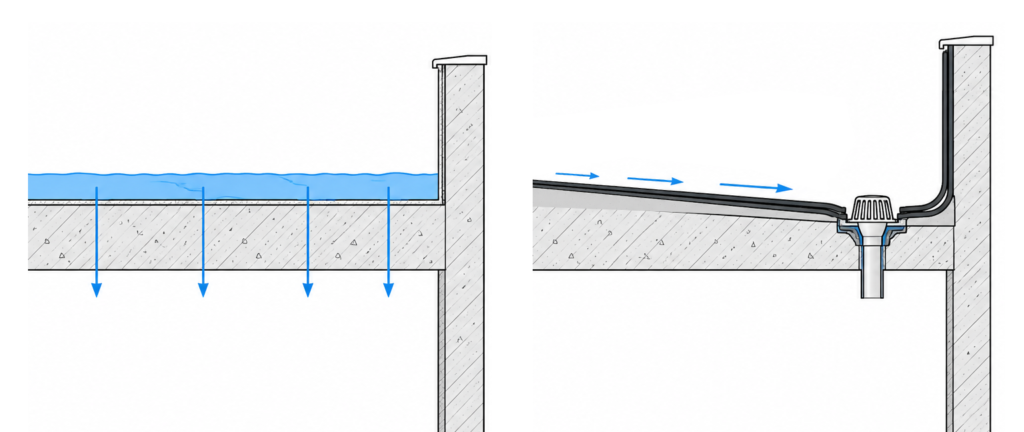
A common flat-roof “waterproofing” approach we see on many of the sites in Phuket is a single coat of liquid waterproofing paint, applied directly onto the slab. Often the roof has no fall at all. Sometimes no outlet or downpipe was planned. Water then has very few places to go, and eventually, some of it finds its way through.
On a recent project, we reviewed a Bill of Quantities that contained no waterproofing line for 250 m² of flat roof, and the drawings did not specify any system either. The client would have paid for the villa, received it, and discovered the problem during the first monsoon.
At KZ, a flat roof rests on four principles: a real fall built into a sloped screed so that water does not stand; a complete waterproofing system rather than a single coat; upstands high enough at roof edges and parapets, where many leaks begin; and at least one emergency overflow so a blocked outlet does not turn the roof into a pool.
Case: A roof with no waterproofing line at all
Issue: a Bill of Quantities we reviewed contained no waterproofing line for 250 m² of flat roof, and the drawings did not specify a system either.
What we specified: a two-layer elastomeric bituminous membrane, reinforced at every outlet, with upstands at all edges.
Lesson: the client would have paid for the villa, received it, and discovered the problem during the first monsoon.
2. Flush windows and missing drip grooves
On many of the sites we visit in Phuket, windows are installed flush with the outer face of the facade, in line with the render. Visually, it looks clean. Technically, it is the most exposed position: the window takes all the water running down the facade, and the only barrier between outside and inside is the joint between the frame and the masonry. That joint is often poorly made, a single bead of silicone applied on a dusty or uneven surface, which ages badly under the tropical sun. When it fails, water gets in.
Setting the window back a few centimeters into the wall changes the exposure. The reveal shelters the frame from direct rain and, above all, makes room for what is often missing here: a sill sloping outward, projecting beyond the facade, with a drip groove.
What is a drip groove? A small channel cut into the underside of a projecting element, window sill, lintel, slab edge, balcony, or coping that breaks the surface tension of water running along the underside and encourages it to drop clear instead of tracking back to the wall.
Dark streaks running down beneath windows and balconies are often a sign that water is not being discharged cleanly from the edge of the sill or slab.
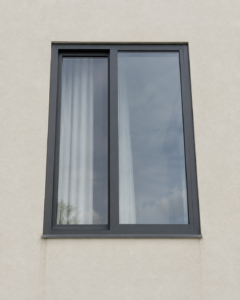
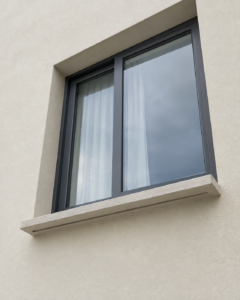
Illustration: left, a window set flush with the facade, with a flat sill and a single sealant joint. Right, a window set back in the wall, with a sloped sill projecting beyond the facade and a drip groove under its nose.
At KZ, every opening is drawn with its position within the wall thickness, its sloped sill, its drip groove, and a window joint built as two barriers rather than a single bead of sealant. The same principle applies to level thresholds: without a channel drain in front of the door and a terrace sloping away from the building, rain driven by the monsoon wind can pass under the frame.
3. Poor site drainage
Much of the water damage we see does not come from the sky but from the ground.
On another project, a single-story villa had a finished floor level only 20 cm above natural ground. Another villa in the same development showed a high water table, with standing water at the bottom of its excavation. No perimeter drain appeared on the drawings, and the rainwater downpipes discharged straight onto the ground with no defined outfall. Twenty centimeters of clearance, a high water table, and heavy seasonal rainfall can significantly increase the risk of moisture intrusion and dampness at the base of the walls. We specified 120 m of perimeter drain in gravel and geotextile, with inspection chambers, connected to an outfall.
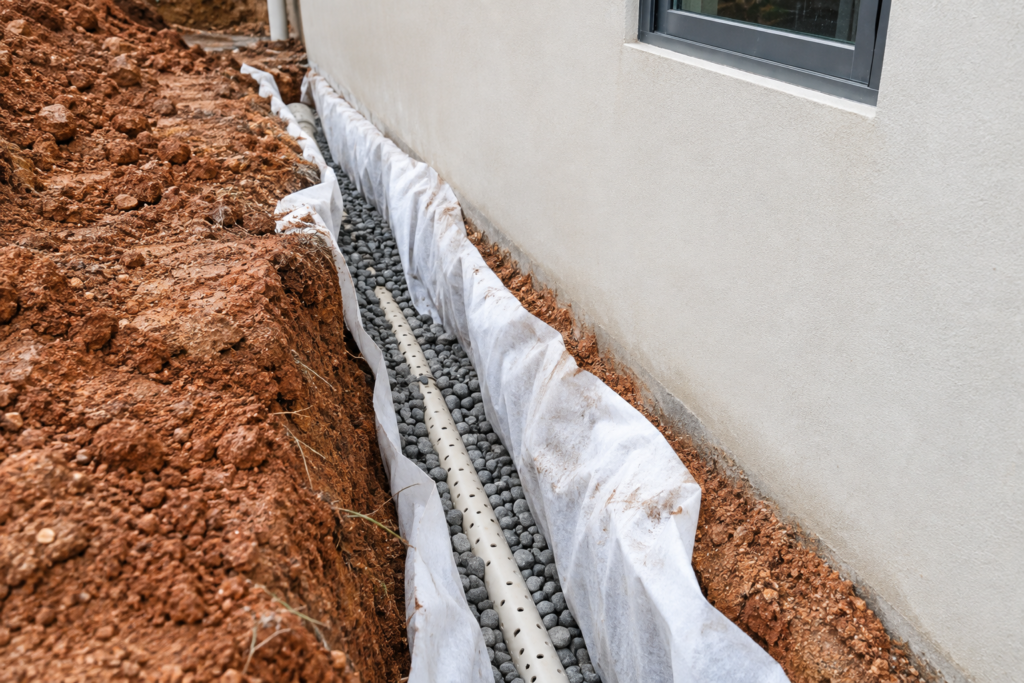
Three points come up systematically in our approach. First, every downpipe must end somewhere, in a network, a tank, or an outfall. A downpipe discharging at the foot of a wall only moves the problem two meters. Second, a soakaway works poorly in the middle of the monsoon, precisely when it is needed, because the ground is already saturated and its infiltration capacity drops. Third, on sloping land, a retaining wall without weep holes or a drain behind it holds back water as well as soil, and the pressure builds. This is why drainage belongs in the feasibility stage, not after the drawings are finished.
The basement case above had an instructive sequel. A few weeks later, water appeared near the pool plant room. The first assumption was a leaking balance tank. The diagnosis showed something else: the discharge pipe of the dewatering pump was releasing pumped water at a point from which it flowed straight back to the site. The water was going round in circles. The pipe was moved, the tank level monitored for a week, and no leak was found.
The lesson applies to any water damage. Diagnose before you repair, or you will repair what is not broken.
4. Incorrect vapor control
This is the most counterintuitive point in this article and the one that most surprises our European clients.
In a European winter, indoor air is warm and humid, and outdoor air is cold and dry. Water vapor tends to move from inside to outside, so the vapor barrier goes on the inner side of the wall.
In an air-conditioned building in Phuket during hot, humid conditions, the vapor-pressure gradient can run the other way. Outdoor air is hot and close to saturation, while the conditioned interior is cooler and usually drier, so vapor tends to move inward. A vapor barrier placed on the inner side, out of European habit, can stop that vapor just behind the cold surface, where it condenses inside the wall with little chance to dry out.
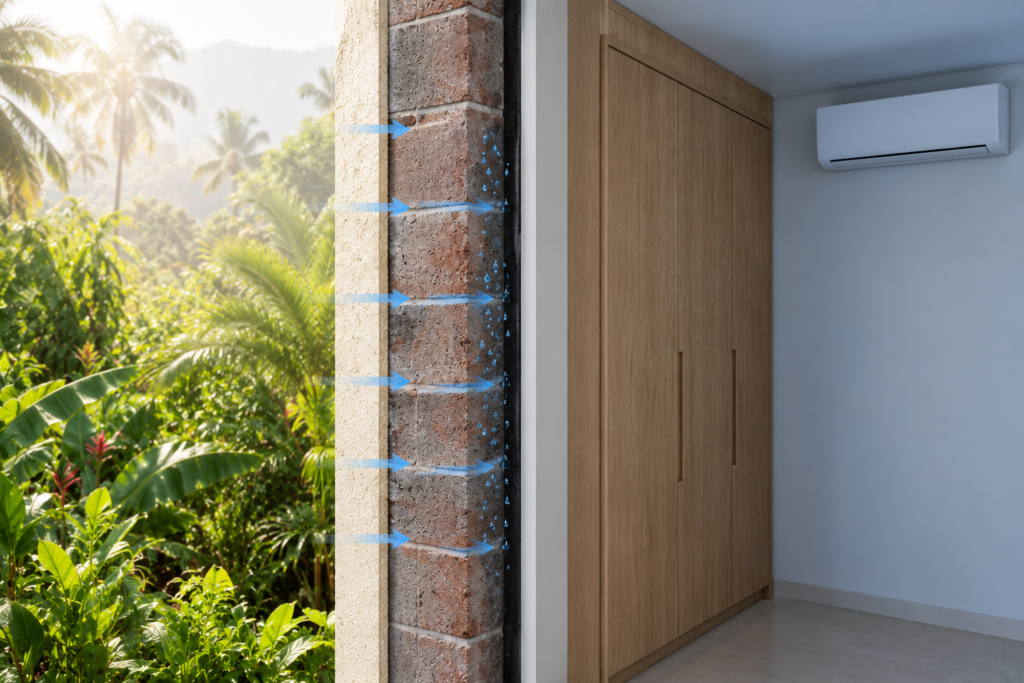
The result is familiar to anyone who has lived in the tropics: mold behind wardrobes, on the outer walls of air-conditioned bedrooms, and behind headboards. The cause is not always a lack of ventilation. It can be a wall designed for another climate.
The mistake is not simply having a vapor barrier. The mistake is copying a wall build-up designed for another climate without checking how the complete assembly will behave. This matches the general guidance from the U.S. Department of Energy’s Building Science Education program: vapor retarders, where they are needed at all, generally belong on the warm side of the assembly, which is the exterior in hot, humid climates. Vapor diffusion is only part of the problem. Air leakage can carry much more moisture into a wall assembly, which is why the air barrier, the drainage plane, and the vapor control layer have to be considered together. What we do on every project is check the build-up as a whole, rather than transpose a European detail, and pay particular attention to linings and built-in wardrobes against external walls.
5. Impermeable finishes on damp walls
The same principle applies to exterior finishes. A film-forming paint, one that creates a continuous impermeable layer, applied over render that still holds moisture, traps that moisture. At the first sun, the vapor pushes out, and the paint can blister and peel.
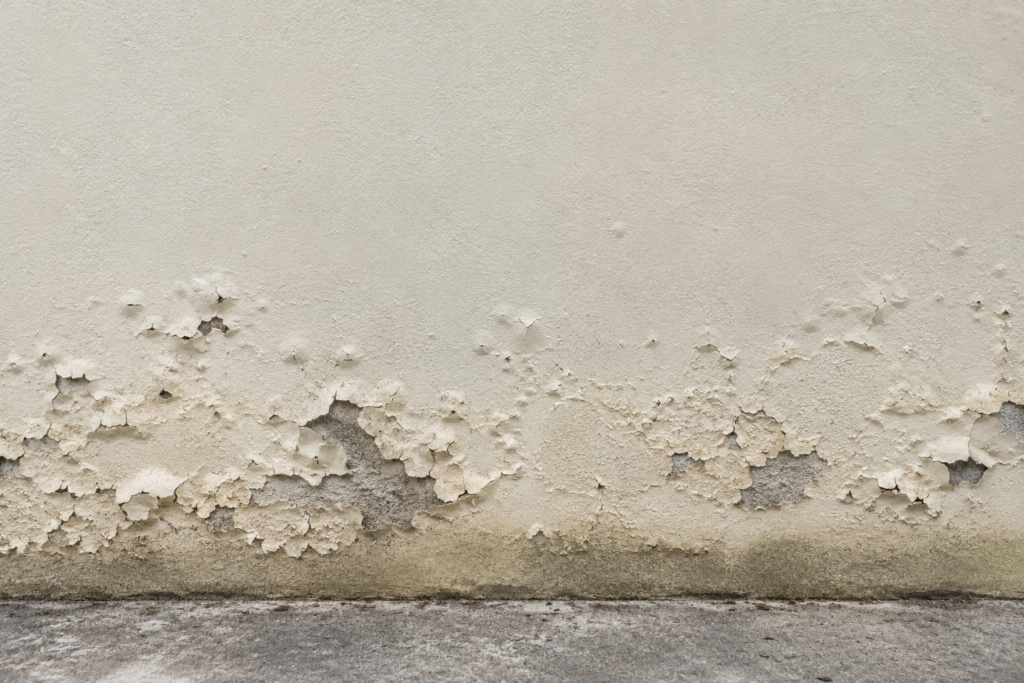
Repainting solves nothing if the water source is not dealt with. You get a new-looking facade for one season, then the same defect in the same place.
In a monsoon climate, we favor finishing systems that let vapor through while keeping liquid water out, applied to dry substrates. And when a damaged facade is brought to us, we first look for where the water comes from, whether it is rising damp, cracking, or a faulty coping, before talking about paint.
6. AC condensate and pool junctions
Two sources of water are often underestimated because they do not come from the rain.
The first is air-conditioning condensate. A villa with multiple air-conditioning units can produce significant amounts of condensate during the humid season. Too often the drainage is improvised, with a pipe discharging onto a terrace, insufficient fall, or a forgotten connection. We draw the condensate network as a system in its own right, with its falls and discharge points.
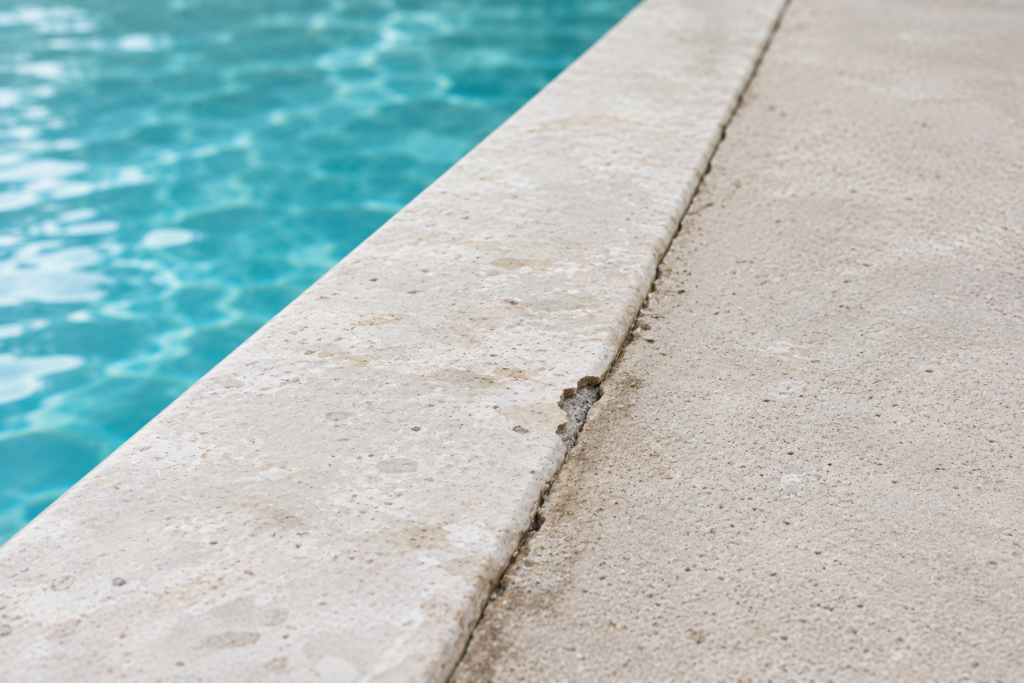
The second is the pool. The junction between the pool shell and the pool deck, and between the deck and the terrace paving, is a point of movement. A pool full of water and a terrace do not settle in the same way. Without a flexible joint at this junction, cracking becomes likely, and water follows the crack. The balance tank, the pipework, and the plant room need the same care as the pool itself, a point that also affects long-term running costs on rental villas.
7. Waterproofing hidden before it is tested
The seventh failure is not a material or a detail. It is a sequence. Waterproofing is one of the few parts of a building whose performance can be tested directly, and most easily before it is covered. Once screed, tiles, protection boards, or backfill go over it, the membrane becomes invisible. A defect may only become apparent months later, through staining, dampness, or other symptoms elsewhere in the building.
On many sites we visit, that window is missed. The membrane is laid on a Tuesday and covered on a Wednesday, with nothing recorded in between.
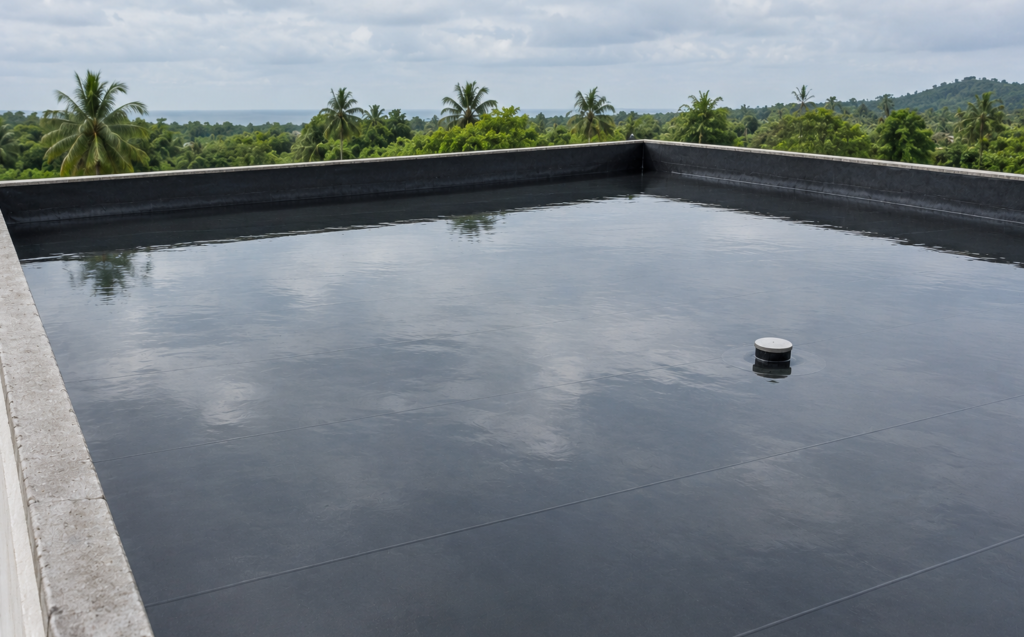
What is a flood test? Water is held over the completed waterproofing for a period and to a depth set by the specification, and the surface below is inspected for leaks before any screed, tiles, or protection are laid over it. The water adds load, so the structural engineer confirms what the slab can carry. Where a water test is not suitable, another membrane-integrity test, such as electronic leak detection, may be specified. Once the membrane is covered, locating and repairing a defect becomes significantly more difficult and may require opening up the finished construction.
The KZ waterproofing sequence
Applied to every waterproofed element, from a flat roof to a pool shell.
- Detail: drawn rather than left to the subcontractor
- Specification: system, number of layers, laps, and upstands named
- Inspection: installation checked before anything covers it
- Test: a method suited to the system, for example a controlled water test where the structure allows it, witnessed and recorded
- Record: photographs and a date, so a warranty claim three years later rests on evidence rather than on memory
A membrane nobody tested is not waterproofing. It is an assumption.
Detail summary
| Failure | Where to check | Best time to verify | Impact if missed |
|---|---|---|---|
| Flat roof falls | Screed, outlets, upstands | Before the membrane is laid | Standing water, increased risk of leakage |
| Window drip grooves | Sills, lintels, balcony edges | Shop drawing stage | Staining, water at the window joint |
| Site drainage | Perimeter drain, downpipe outfalls | Feasibility / design stage | Dampness at wall base |
| Vapor control | Wall build-up, linings, wardrobes | Wall detailing stage | Condensation, mold |
| Finish permeability | Render and paint specification | Before repainting a damp wall | Blistering, repeated repainting |
| AC / pool junctions | Condensate lines, pool deck joint | MEP and pool shell design | Damp terraces, cracking at pool edge |
| Waterproofing testing | Any membrane, before cover | Immediately after installation | Defect harder to locate, repair may mean opening finished work |
Checklist before the next rain
Tick each box when the answer is yes.
- ☐ No water stands on a flat roof for more than a few hours after a downpour
- ☐ Each flat roof has a primary outlet and at least one emergency overflow
- ☐ Waterproofing upstands rise high enough at roof edges and parapets
- ☐ The waterproofing was tested by a method suited to the system, and the result recorded, before the protection layer was laid
- ☐ Windows have a sloped sill with a drip groove, not a single joint flush with the facade
- ☐ Every downpipe ends in a network or an outfall, not at the foot of a wall
- ☐ There is a drain behind the retaining walls, and the weep holes flow
- ☐ No damp marks appear at the base of walls or behind furniture
- ☐ The air-conditioning condensate has a defined discharge point
- ☐ No cracks appear at the junction between the pool and the terrace
What it costs to fix later
The rainy season does not create defects. It simply presents the bill for decisions made, or forgotten, during design and construction. At the design stage, a perimeter drain, a sloped roof screed, a drip groove, or a flexible joint at the pool edge are simply lines in the Bill of Quantities. After construction, the same work means lifting tiles, breaking screed, digging along a finished facade, redoing render and paint, and then putting everything back. The waterproofing material is often the smallest part of the bill. What you pay for is access.
If any of the points above concern you, have them checked now, while the water still shows where it goes. Our team carries out diagnostic visits on villas under construction and existing villas in Phuket.
Contact KZ Architecture & Design for a diagnostic visit.
Frequently asked questions
Can waterproofing be redone after construction?
Yes, but it almost always means removing whatever covers it, whether tiles, screed, or a protection layer. The cost of a repair is driven mainly by access, not by the waterproofing product.
Why do the walls of my air-conditioned bedrooms grow mold?
In a hot, humid climate, water vapor tends to move from the outside toward the cool interior. If the wall has an impermeable layer on its inner side, the vapor can condense there. The complete wall build-up must be identified before any repair.
Is a waterproofing paint enough for a flat roof?
A single coat applied to a slab with no fall is not a waterproofing system. A flat roof needs a real fall, a complete system installed to the manufacturer’s specification, upstands at the edges, and properly sized outlets.
What is a drip groove for?
It is a channel cut under window sills, lintels, and balconies. It stops water from running back to the wall along the underside and encourages it to drop clear, away from the window joints.
What is a flood test, and when should it happen?
The completed waterproofing should be tested before it is covered, using a method suited to the system and the manufacturer’s requirements. Where a controlled water test is suitable, the test period and water depth should follow the specification, and the structural engineer should confirm the load. Once the membrane is covered, locating and repairing a defect becomes significantly more difficult and may require opening up the finished construction.
Sources and notes
Climate data
- Rainfall figures: Phuket climate data, 1991-2020 period, 2,271.5 mm annual average, September the wettest month at 350.4 mm.
Technical note
- Vapor control guidance: U.S. Department of Energy, Building Science Education.
Related articles: Why a detailed Bill of Quantities changes what you actually pay in Phuket · Buying land in Phuket: titles, zoning and feasibility · The design decisions that drive rental yield on a Phuket villa
About the author
Kaled Kamala is the founder of KZ Architecture & Design, a licensed architecture firm based in Phuket, Thailand. A French architect (DPLG), graduated from the Paris-Val-de-Seine School of Architecture in 2004, with more than 20 years of international experience, including 12 years across Asia.